  ® ®
|
The on-bike CBX carb cleaning method |
|
If the carbs are only slightly gummed up and therefore starting but idling poorly, this technique can clean them and restore a good idle. However, it won't work on carburetors that have been sitting for years. And, because the 79 model carbs have rubber parts inside their float bowls, you must be careful to: a) use only low-strength brake clean aerosol, not carb cleaner, and b) drain the cleaner out of the float bowls and start the bike as soon as possible to dilute the cleaner left in the bowls. |
|

|
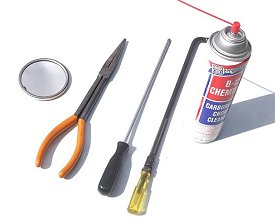
Here are a few of the tools you'll need. A hand-held mirror, some longish needle-nose pliers, a nice long #2 Phillips screwdriver, the factory carburetor idle mixture screw tool or its equivelant, and an aerosol can of brake cleaner spray. I recommend brake aerosol over carb aerosol because the 79 model CBX has rubber bits inside the float bowl. Aside from this, some assorted general hand tools (14mm wrench for example) may also be needed, as well as a face mask or respirator and some latex gloves. |
|
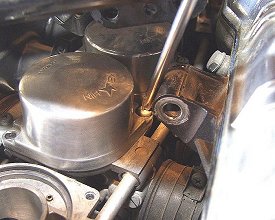
Remove the upper rear engine hangers (the little triangular ones between the carbs) to get better access to allow room for some of the tops to come off. You will also need to remove the front engine hangers and loosen the upper rear mount bolt while a jack is under the engine, as well as loosen the six manifold clamps, to remove the tops on a 79 or 80 model. The 81 and 82 models don't require this because the carbs have more clearance. |

|
|
 |
|
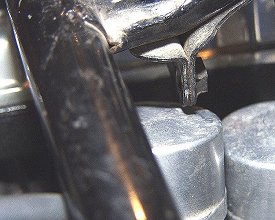
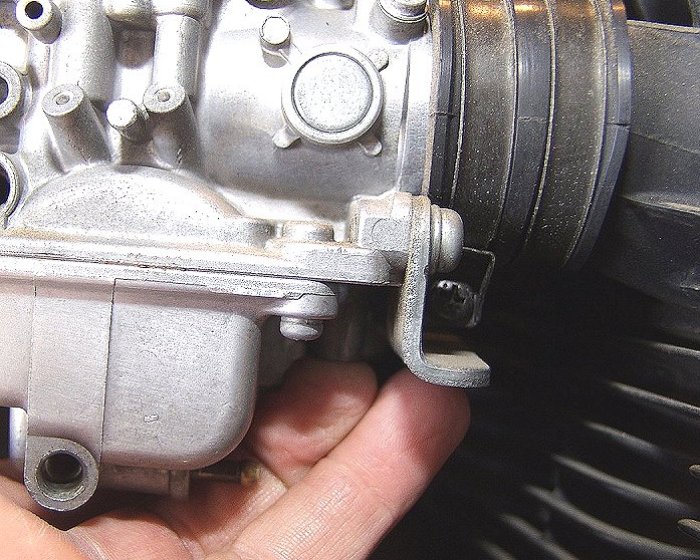
You can see the issue. It's pretty tight. |
|
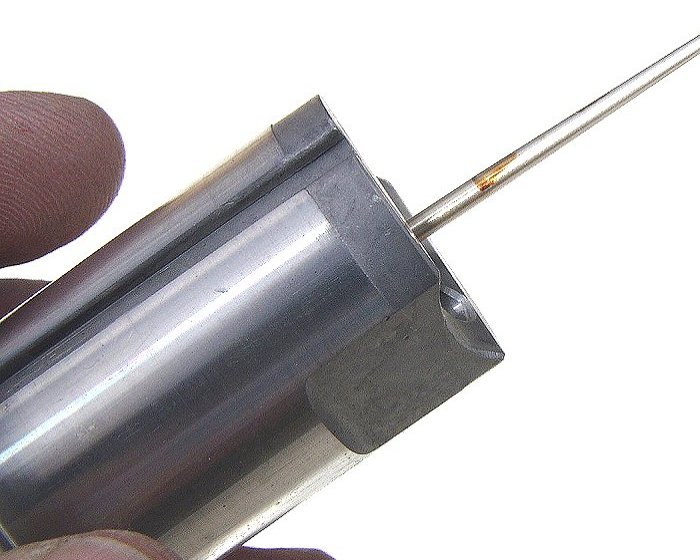
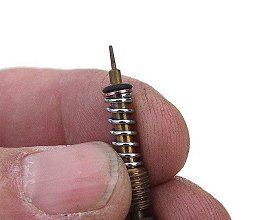
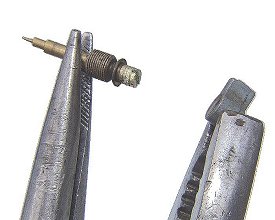
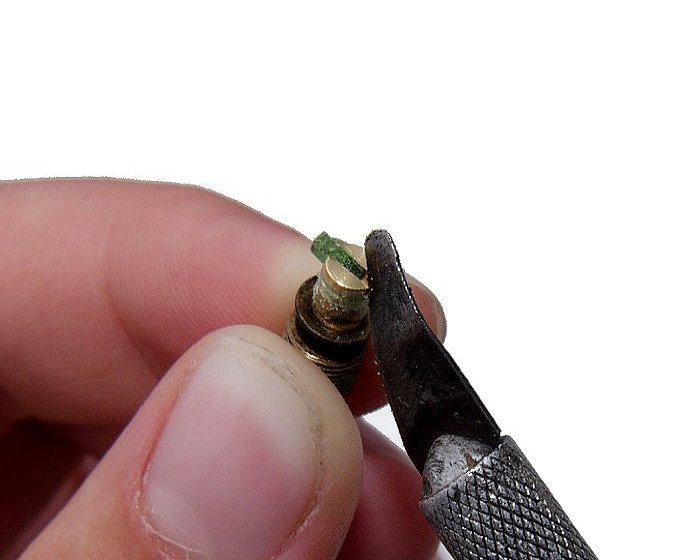
Once you get the tops off and slides out, check the slides for cocked needles (the needles should wiggle freely, they should not be bound up), amd most importantly, varnish. If they have much more than this (note the jet needle), the carbs may have to come off the bike to be cleaned correctly. This isn't too bad though. Click on the image to view a larger sample. |
|
 |
|
|
Remove the pilot (idle mixture) screws, making sure you also retrieve the springs, washers and especially the tiny o-rings. The o-rings tend to jam into the casting and don't want to come out. If your pilot screws still have their emissions flags on them (they shouldn't) go to this link " to see how to remove the flags so the screws may be removed. |
|
The idle mixture screw cavity must be bare. Take extra care to fish out the o-ring that tends to stick inside the casting. A bit of stiff wire works well to dig it out. If the o-ring was aftermarket and thus an incorrect size, it will probably be mashed pretty badly and need replacing. You can get replacement o-rings from a Kawasaki dealer, part number 92055-1002. |
|
 |
 |
|
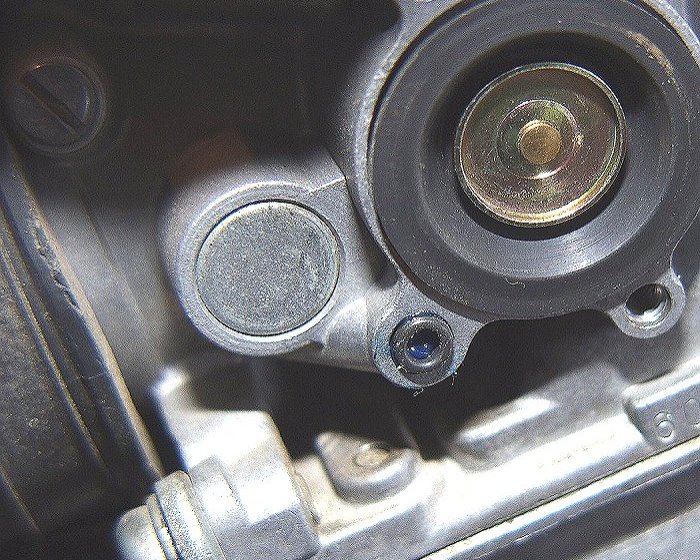
Hold the hand-held mirror like this and with a flashlight, peek up into the mixture screw cavity. It you can't see shiny metal at the end of the hole, the o-ring is still in there. Get it out. The carburetor will not work right with the o-ring stuck in there sideways or torn. Click on this image to view a larger sample. |
|
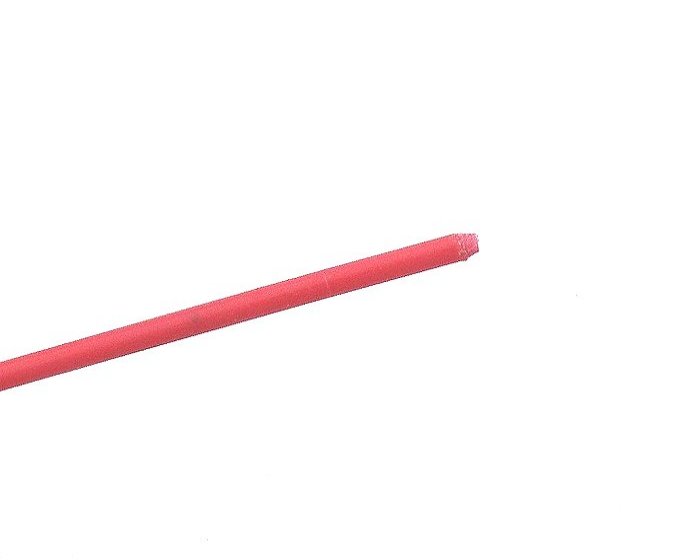
Take the spray hose from the aerosol and sand a taper on one end. This is important. This method relies on the force of the aerosol to be really effective. So don't skip this step. Click on this image to view a larger one. |
|
 |
 |
|
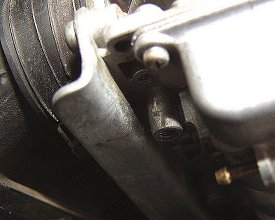
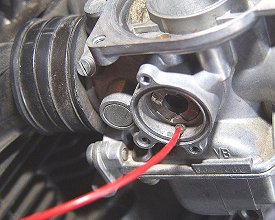
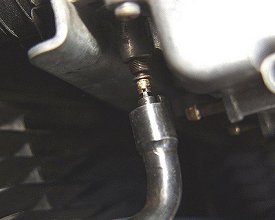
Here we see the hose jammed into the idle air bleed. Get it in there tight, and spray a few shots. Watch your eyes! Unscrew and remove the float bowl drain screw to let the cleaner out. |
|
Repeat at all the idle air bleeds, remembering that on the number 1 carburetor, the air bleed is hidden under the air cut valve cover and diaphragm. Don't lose the tiny d-ring inside the aircut valve cover when you remove it. |
|
 |
 |
|
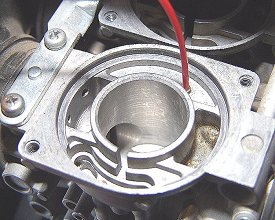
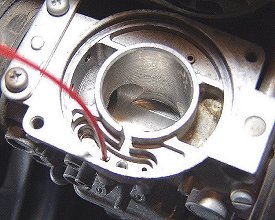
You should see cleaner come out of the idle mixture screw cavity each time the idle air bleed is blasted in each carburetor. Once you verify this, go back and blast the idle air bleeds in each carburetor again, only this time cover the idle mixture screw cavity with your finger and watch for discharge of cleaner from the idle port and transfer port inside the carburetor bore. This is a double-check and a way to back flush any varnish that's still in there. Click on this image to enlarge it. |
|
Once the idle circuit is happy, move on to the other circuits, blasting and watching for discharge inside the carburetor where that circuit sprays out normally (at the outlet orifices). Shown is the secondary (or just) main air bleed jet being shot. Cleaner should bubble out inside at the center (bore) of the casting. |
|
 |
 |
|
Here the primary main (1979 only) is being shot. Watch for cleaner discharging at the primary main outlet inside the carburtor bore. |
|
On an 80 and later CBX that still has the limiter flags on, you'll need to remove them to remove the pilot screws. Heat up the aluminum flag using a 200+ watt soldering gun until too hot to touch, then carefully pull them off. |
|
 |
 |
|
Don't forget to clean out the glue from the mixture screw so that a screwdriver will fit into it properly. Click on the image to view a larger sample. |
|
Now the idle mixture screw can be adjusted. Shown is the factory mixture screw adjustment screwdriver. |
|
 |
 |
|
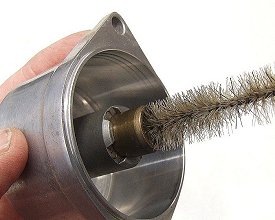
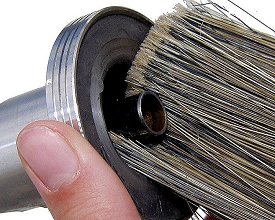
Before reinstalling the carb tops, gently clean their brass bores using a bit of brake cleaner and a bottle brush. Don't use carb cleaner as it will strip the lacquer. |
|
It is not unusual to find grayish-green deposits on the slide's chromed shafts. This comes from the crankcase breather system, which feeds crankcase fumes into the air intake. Periodically clean this off and you will be rewarded with excellent working carburetors. To minimize this deposit, regularly purge the drain hose at the bottom of the air box. To avoid it altogether, reroute the crankcase breather hose to an independent breather filter instead of to the airbox. |
|
 |
 |
|
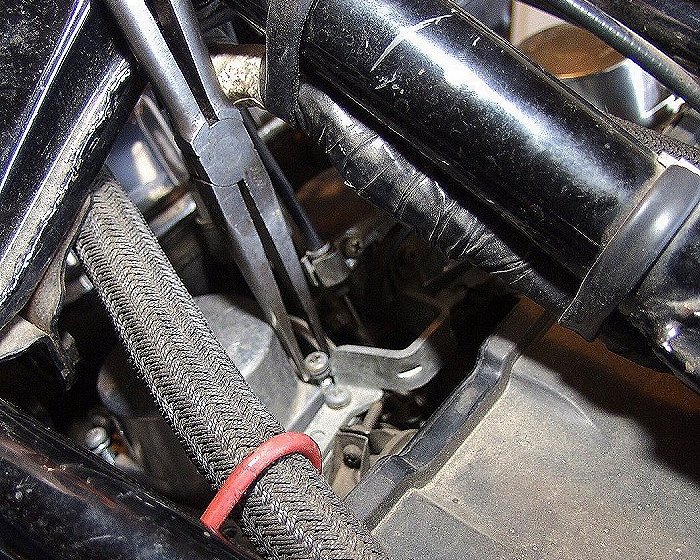
While putting the tops on, the long needle-nose pliers comes in handy. This is carburetor number 3, the one that has the most stuff around it. Click on the image to enlarge it. |
|
Here we see the air cut valve before its cover goes back on. Note that the d-ring must be in place. Hold it in place with a touch of grease. Click on this image to enlarge it. Don't forget the spring, too! |
|
 |
 |
|
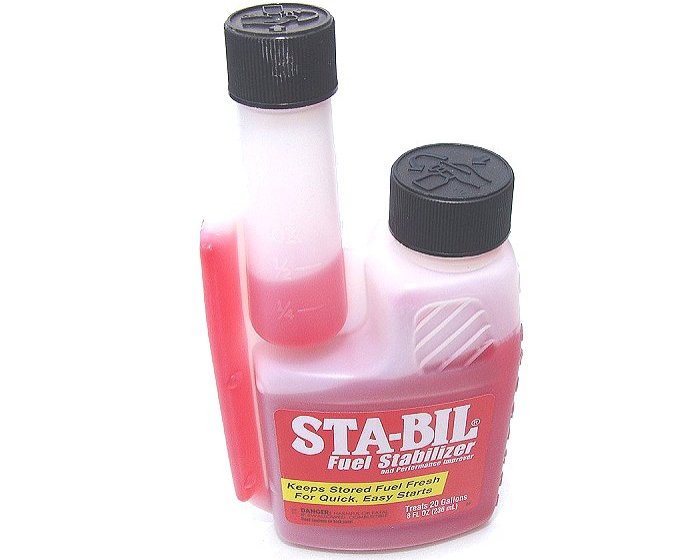
Unless you just like doing this frequently, consider some preventative maintenance. Believe it or not, just draining the float bowls each season does absolutely nothing. On the other hand, this product, Sta-Bil, when used according to directions, will preserve the fuel for up to two years. It may prevent the carbs from ever gumming up again. It works. |
|
|
|
Last updated January 2026 Email me www.motorcycleproject.com My bio © 1996-2026 Mike Nixon |