® The CBX1000 cam chain


It is possible to replace the "A" cam chain in the CBX without disassembling the engine. It is even fairly easy given skill and tooling. But not the way advocated online. This should not surprise you.

The cam chain
There are three different "A" cam chains available for the CBX. No matter where they come from, there are these three types. First, the original chain has 3mm pins. This chain is nearly impossible to find now, but is is definitely preferred because it is the strongest and the CBX engine really stresses its cam chain. Second, there is a chain that has 2.7mm pins. This is the one marketed by Brent Hyde in New Zealand. Third, there is a chain with 2.5mm pins. This is the chain sold by wholesale parts supplier K&L in Northern California. They also offer a master link for this chain. The master link will work only on this 2.5mm chain.

The tool
The correct way to replace the cam chain without removing the crankshaft is to use one of the several tools made for cam chain disassembly and reassembly. Honda actually offered two different tools, in their tools catalog, for use with the 1970s 450 DOHC twin. Though Honda's Hy-Vo chain did not yet exist and the tool was therefore intended for the older roller type cam chain, it works very well on the Hy-Vo type also.

The method
Whichever tool is used, the basic technique is gradual pressing of one of the pins out of a link. Any link can be chosen, it doesn't matter. Then on reassembly of the chain, the pin is gradually pressed back into the link and its end crimped for security. Note that certain of the tool's tips are used for specific operations. For future reference, I like to dye the link red using Dykem.


Figure A shows the link's pin being pressed until it is flush with the side plate. You must do this in small steps to avoid damaging your tool.

Figure B shows the pin then being pressed through all of the plates except the last one. Again, small steps.

Figure C shows the link's pin being pressed back into the link.

Figure D shows crimping of the pin after it is reassembled. After assembly, I drape the chain over a spare sprocket and lightly tap it with a hammer to even out any tight spots.


Things to know:

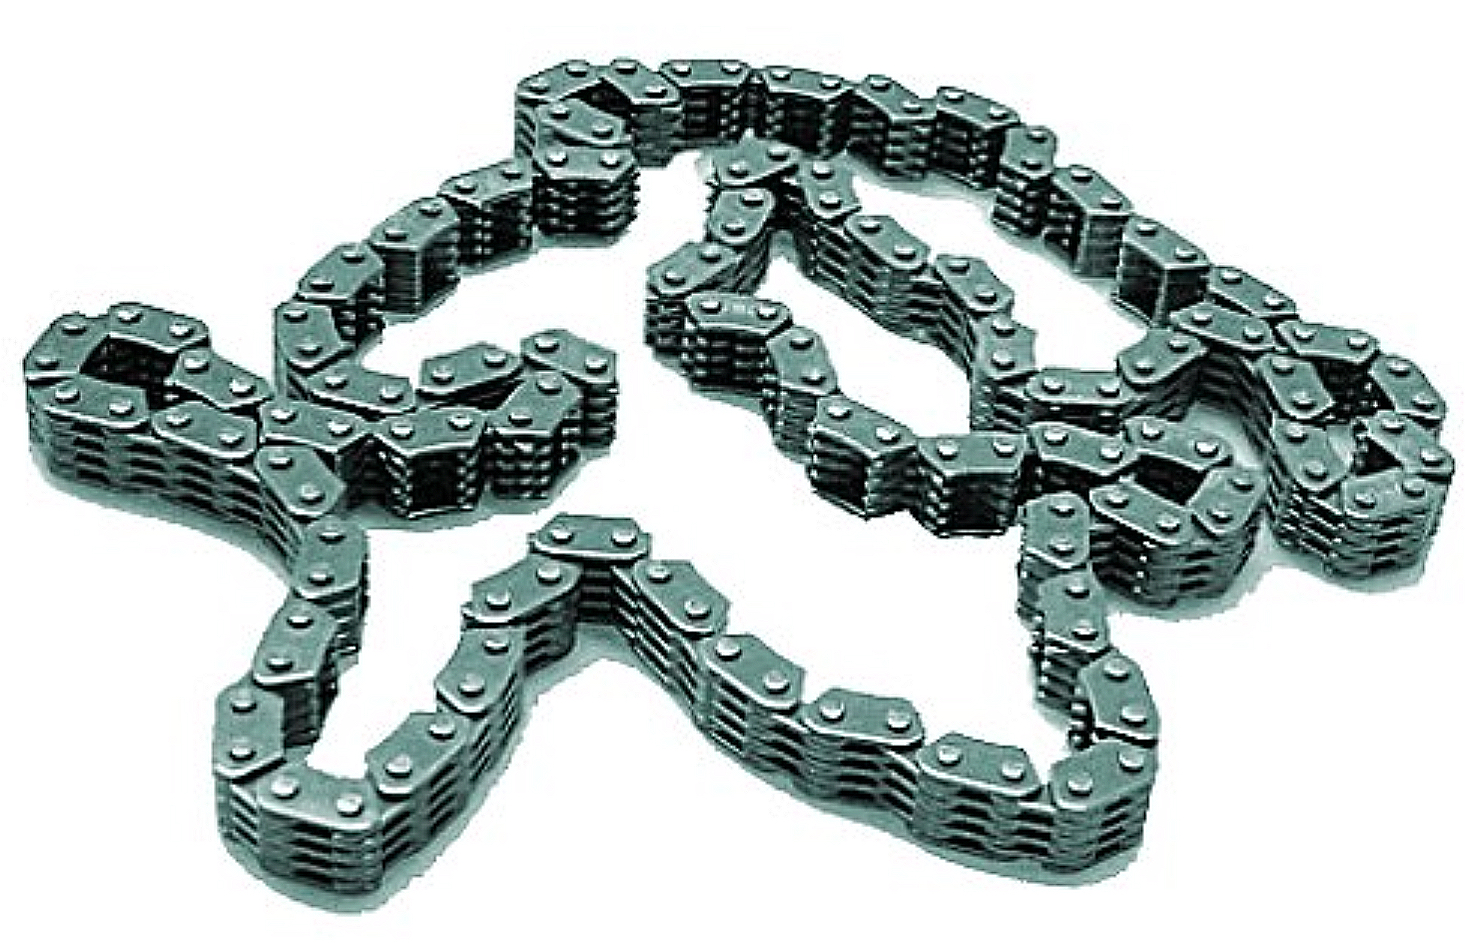
  • The CBX cam chain is stressed very highly. Almost too much as can be demonstrated by A) the fact that Honda dumbed-down the cams and made them less aggressive after the first year of production, and B) that the well-known warning about accidentally changing the engine's firing order breaks the chain within 25 miles of use. There are 48 valve springs working on this chain! Don't use an inferior replacement chain if you can help it.

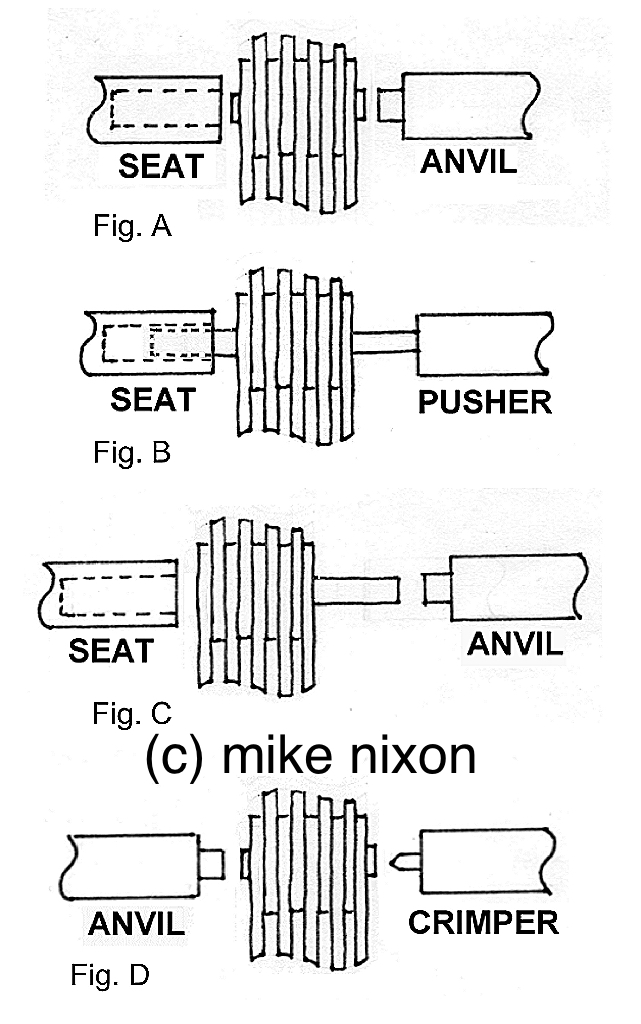
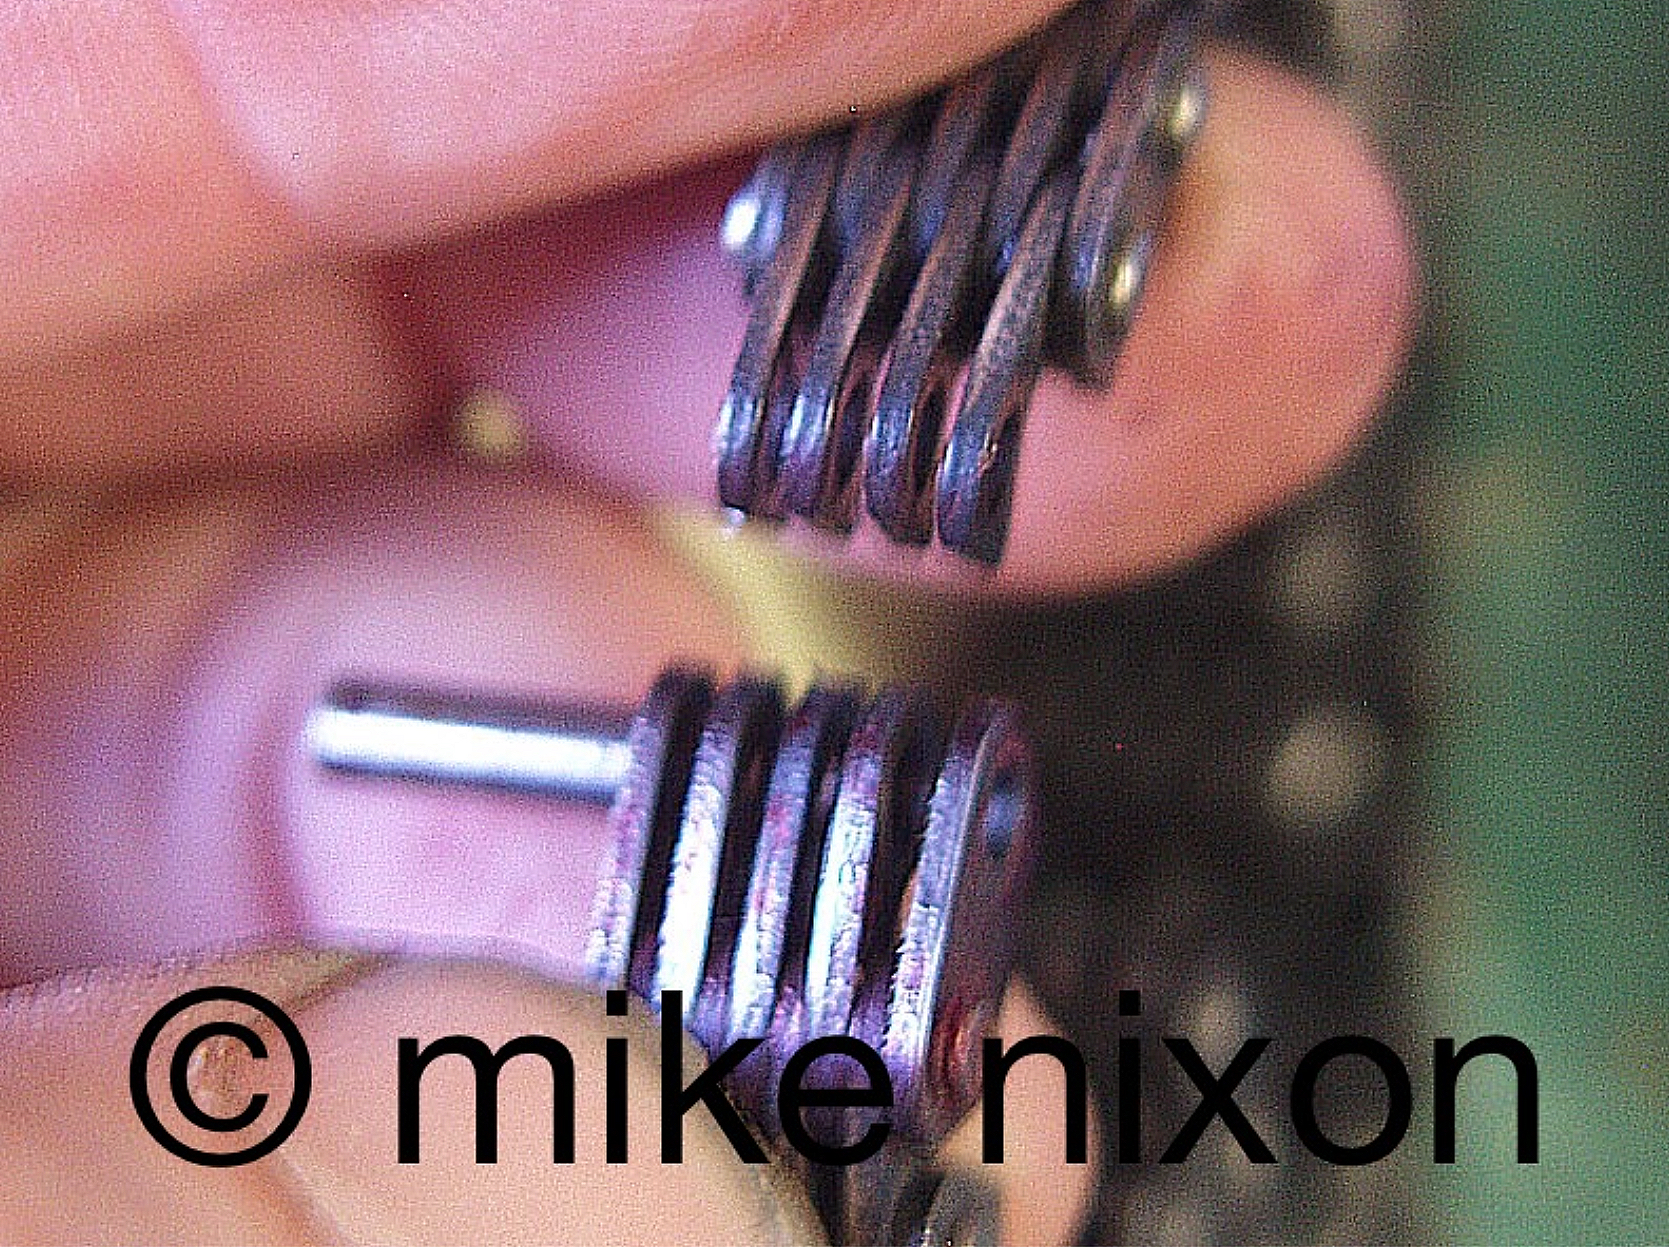
  • The wear point in any chain is the pin. The pin determibes the chain's strength. No matter what anyone says. Therefore, the original 3mm chain is best. Unfortunately, it is the most difficult to find. For that reason, I have used the Brent Hyde sourced 2.7mm chain on all the engines I have rebuilt. Also, because the wearing part is the pin, this pin pressing in and out should never be done on an in-service chain.

  • Honda, it its effort to support vintage, has begun to sell replacement cam chains again. Unfortunately, these are actually aftermarket chains and are not the original 3mm pin chains. I have confirmed this by having a dealership parts person measure one still in the Honda wrapper. It was a 2.5mm chain, thus from the same (probably Chinese) maker as the K&L chain.

Sample pictures:

This is the first-generation tool for the 1960s-70s 450 twin. It's not the best tool. It does a good job of disassembly and reassembly but is not the best for crimping. Many other tools are available.

The pin has been pressed most of the way out and the chain separated. I like to retain the pin in the end plate and avoid having to insert it fresh.

The pin is partway pressed back in and the chain is almost back together. Slow and easy does it, no matter the tool being used. The pin will be crimped afterward.

More...


Last updated June 2025
Email me
www.motorcycleproject.com
My bio
© 1996-2025 Mike Nixon