|
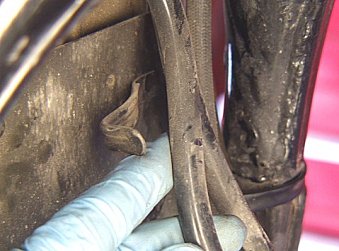
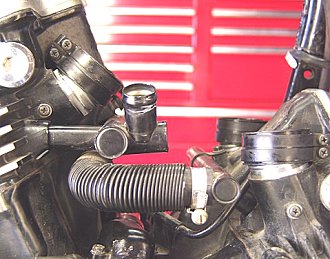
On the Magna models you must be very careful to not over-stretch the subtank hose. It will be quite brittle from age.
|
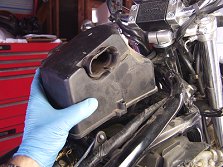
Removing the airbox top cover from a V65.
|
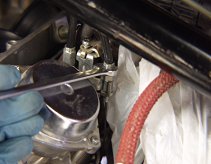
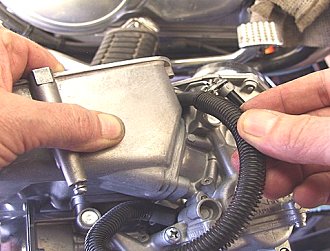
Removing the throttle cables.
|
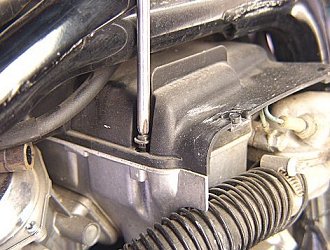
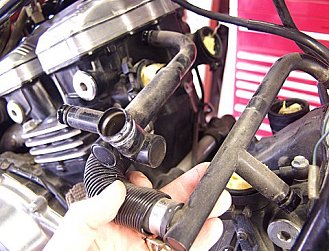
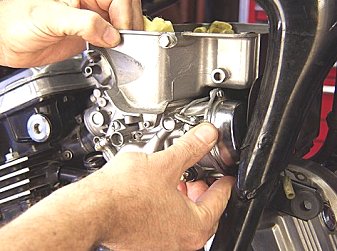
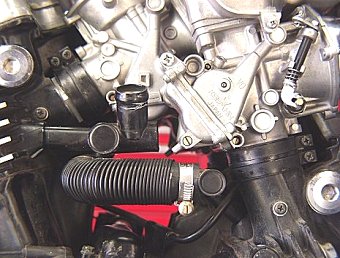
After removing the cover over the carb set steady plate, unbolt the thermostat housing to get it out of the way. Don't remove the housing on the tops of the carburetors.
|
|
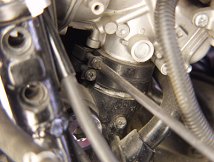
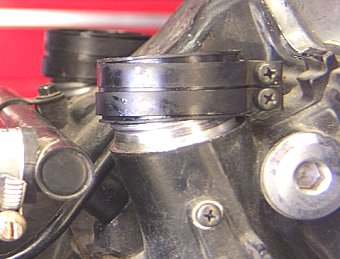
Loosen only those clamps closest to the carburetors. Leave the engine side ones alone for now.
|
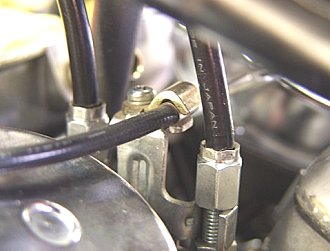
Watch out for the spark plug wires where they are clipped to the front of the carb set.
|
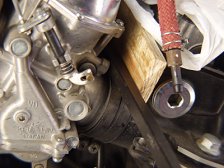
This is important. There is only one good way to coax these carbs out of their rubber manifolds. On the engine side you want a piece of wood. On the carb side it would be good to have a small piece of wood or aluminum also. Note where the pry bar is pushing on the carburetor. This happens to be the thickest and strongest part of the carburetor.
|
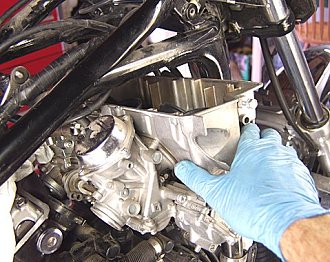
On most V4 models the carbs come out easiest on the right side. Note that the steady plate/housing has not been removed.
|