|
|
|
|
|
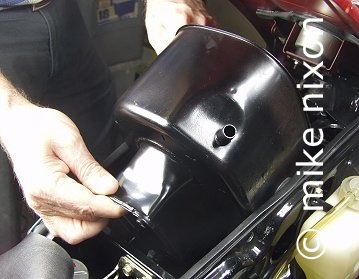
Remove the air filter and air filter box. I like to spray a little silicone lube on the sides of the box to prevent the rubber welting from catching and getting knocked off.
|
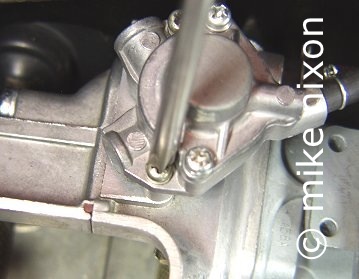
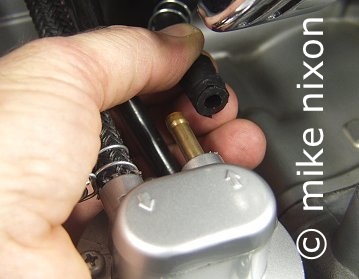
On the GL1000, unbolt the aircut valve. Note that the whole valve is removed, not just the top cover, by unscrewing the screws on the left, not those on the right. Do NOT remove the valve's top cover.
|
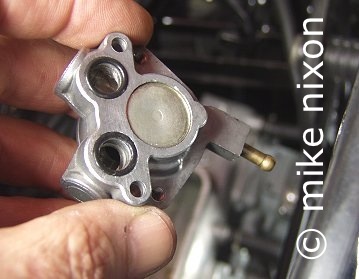
You also don't need to remove the valve from its hose, but flip it over and make sure the o-rings are retained. They're important. If you lose them or just want new ones, I can supply them.
|
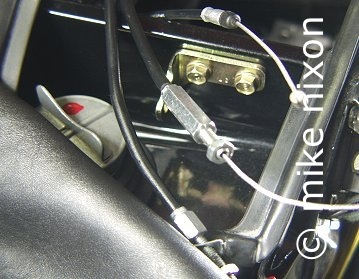
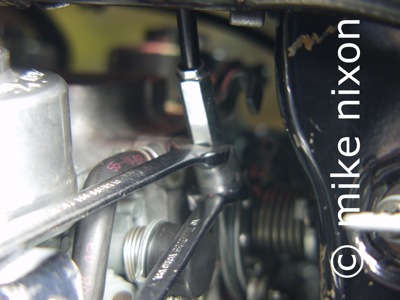
Unbolt and move the three cables out of the way. Take special note which part of the bike's frame the cables thread through on their way down to the carburetors and try to retain that configuration later during installation. Also, note that the choke cable is removed from its bracket, the bracket stays on the carburetor.
|
|
|
|
|
|
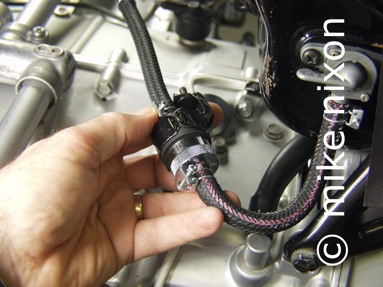
Disconnect the fuel pump. Disconnect both hoses if you're plamning on checking cylinder compression while the carbs are off. Otherwise, the carb side hose will do.
|
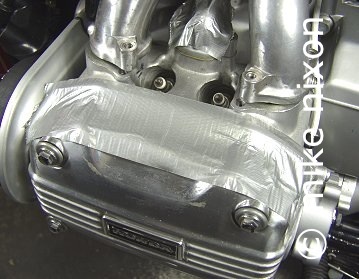
Unbolt all four manifolds. Put two layers of duct tape on at least the left side valve cover, if not both covers.
|
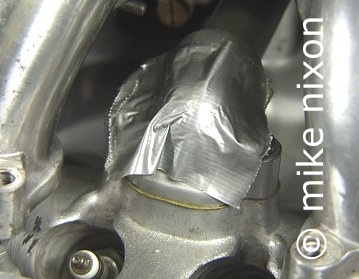
Don't forget the coolant elbow on the left side also. It really gets scratched up otherwise.
|
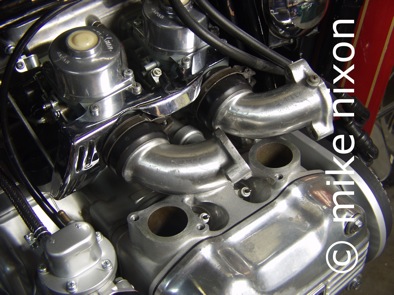
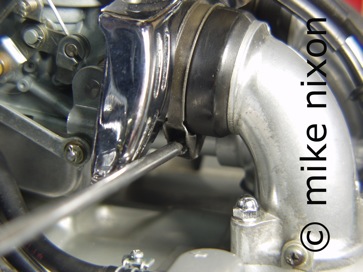
Loosen the clamps on the right side and turn the manifolds as shown. Ninety degrees like this works fine, sometimes 180 degrees is simpler.
|
|
|
|
|
|
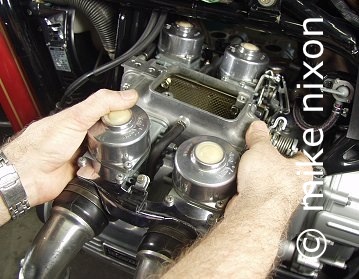
Now ease the whole assembly out nice and slick. If a little tight still, you can remove one or both of the right side carb tops, to gain more room.
|
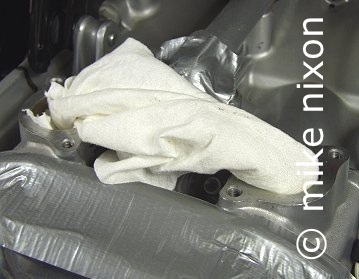
Don't forget to stuff some clean rags into the cylinder heads on both sides. You know about ol' Murphy...
|
|
|
|
|
|
|
|
So, "in the reverse order of assembly," right? :-) This is a good time to install a new fuel filter, before the carbs go back in.
|
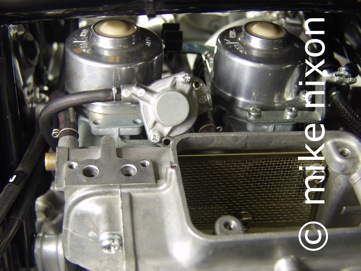
Nestle the aircut valve temporarily below the tops, for clearance, before slotting in the carb assembly.
|
Once the carbs are in, install the aircut valve. With the carbs still loose you'll have plenty of wiggle room, especially between the aircut valve and that pesky front hardware. Make sure the o-rings are in place, and lightly glue them if necessary to ensure they stay in place. The engine will run like crap without 'em.
|
Bolt up the throttle and choke cables. Take your time and get them right, with maximum clearance in the throttle cables. Connect the fuel pump. The carbs still are not bolted down.
|

|
|
|
|
|
Before bolting the manifolds down, replace the manifold-to-head o-rings. Lightly glue them into the manifold grooves with the snot of your choice, used sparingly. I have these too, if you need them.
|
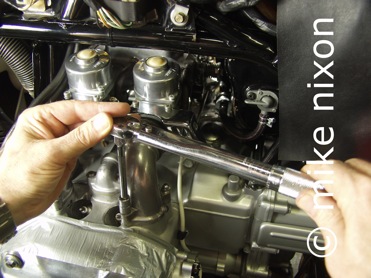
Time to torque down the manifolds. Use a 1/4 inch drive torque wrench, go in two to three stages, max to 90 in-lbs. Afterward, install the airbox and air filter.
|
Finally, the last step, tighten the manifold clamps. Don't over-tighten. You should check the sync on these carbs, even if all that you did was remove and reinstall them, and even more so if they have been rebuilt. Enjoy!
|
|
|